The following explanation of the Ergonomics Time Study is done using the Empowered MURI system. The Standard vs Empowered section will explain the differences between the two. While in the Time Study module, or in the Activity Time tab, ergonomics can be analyzed for activities. To enter the ergonomics editor, the ergonomics tab must be selected. While under the Calculated time mode, a time standard must be selected (MTM, BMOST, etc.), and a video is not able to be loaded. While in the Observed time mode, a video may be uploaded and used in both Observed and Calculated time modes. In order to complete an ergonomic study, elements must be created within the Time tab of the Time Study first.
Ergonomics Motions Tab
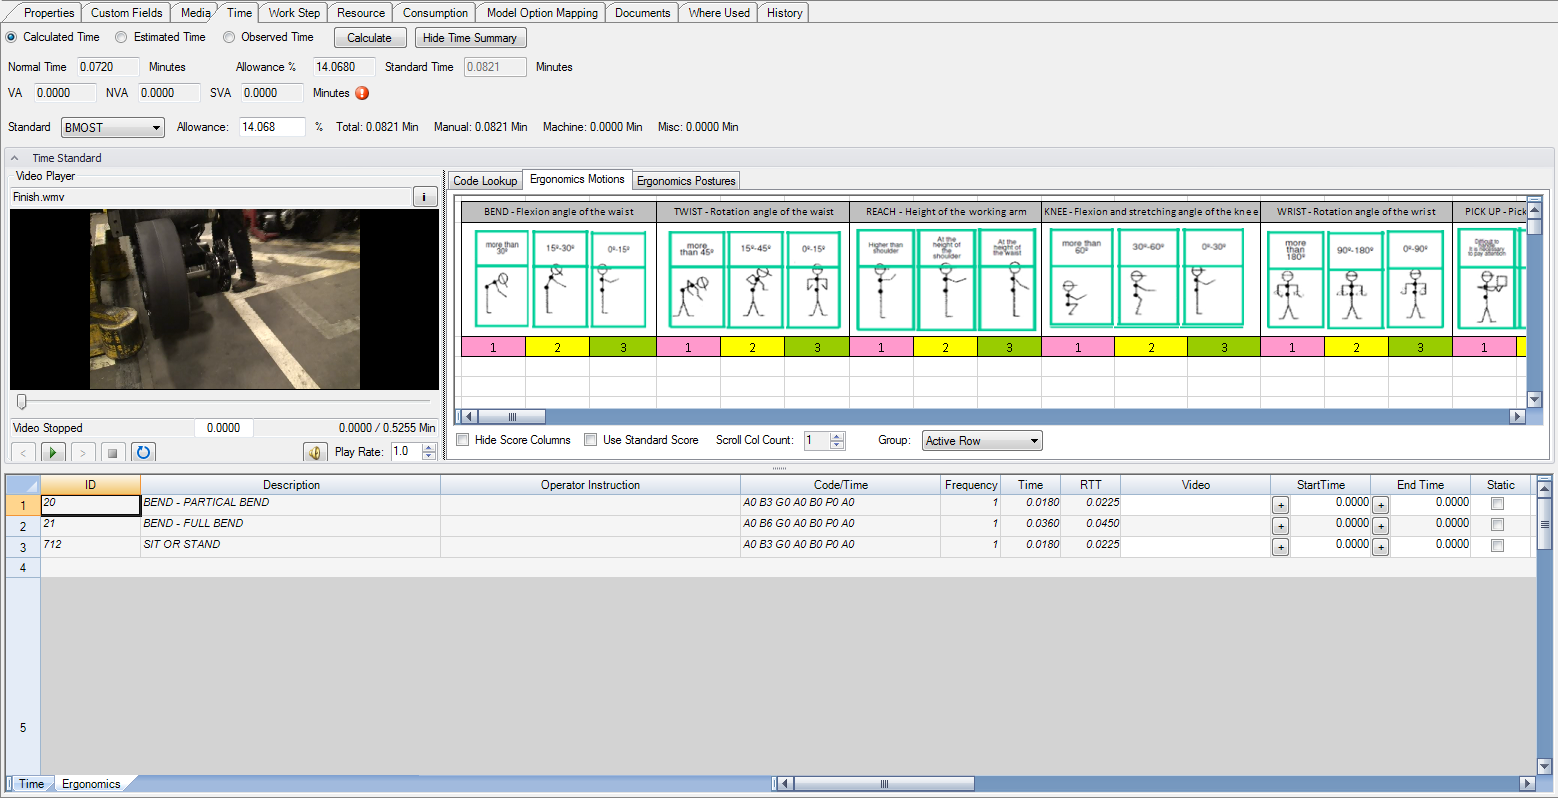
Ergonomic Motions Time Tab
In this tab, a time standard must be selected and activities must be present in the time tab or time study. Once the activities are present, an ergonomic study can be performed. With a video playing, the ![]() buttons can be clicked to record a start time and end time. The weights of objects, force that must be applied, and steps that must be taken within activities are added within the sheet along with any notes.
buttons can be clicked to record a start time and end time. The weights of objects, force that must be applied, and steps that must be taken within activities are added within the sheet along with any notes.

Ergonomics Sheet View
The Set Baseline button can be clicked to set all values to the minimum ergonomic impact in the row.

Set Baseline Button
The boxes can be manually checked in most columns to represent the ergonomic impact. The impact is judged by standards that are automatically uploaded into the Code Lookup section as an ergonomics code.

Code Lookup Section
When these boxes are checked, the bars under the rows automatically change as a visual representation of the ergonomic impact in that particular area of study.
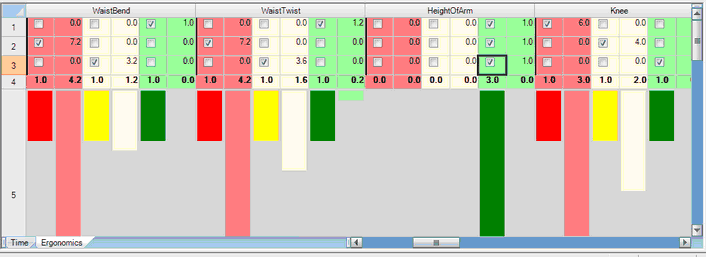
Aggregate Bars
Notice that some check boxes are automatically filled as a result of the information filled in the weights of objects, force that must be applied, and steps that must be taken within activities. These sections have certain criteria and the box checked can only be changed by altering the data that it references. They are grayed out to show that they are not directly able to be changed.

Auto-checked Boxes
On the right side of the spreadsheet, the total score for the activity is added up and a visual representation of the severity of the activity is created.
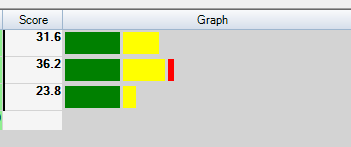
Total Score
There are ways to control what data is shown by the spreadsheet using checkboxes located directly above the sheet. When "Hide Score Columns" is checked, the numerical values are not shown for each box.
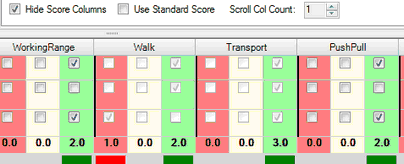
Hide Score Columns
When "Use Standard Score" is checked, only scores relevant to the calculation of the standard score are displayed. This also reduces the overall scores, as some of the categories have been removed.
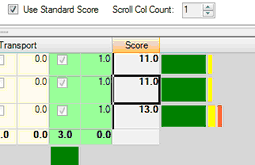
Use Standard Score Box Checked
Ergonomics Postures Tab
The Ergonomics Postures Tab allows users to more easily specify values for posture-related EMMURI categories by selecting a single postural value from a list of possible values. This allows users to perform a predictive EMMURI analysis based on what is known about a working area, rather than an observed EMMURI analysis of a worker already performing the work. This allows for a better layout of working areas and a better association of work during the design of a line or a new product launch.
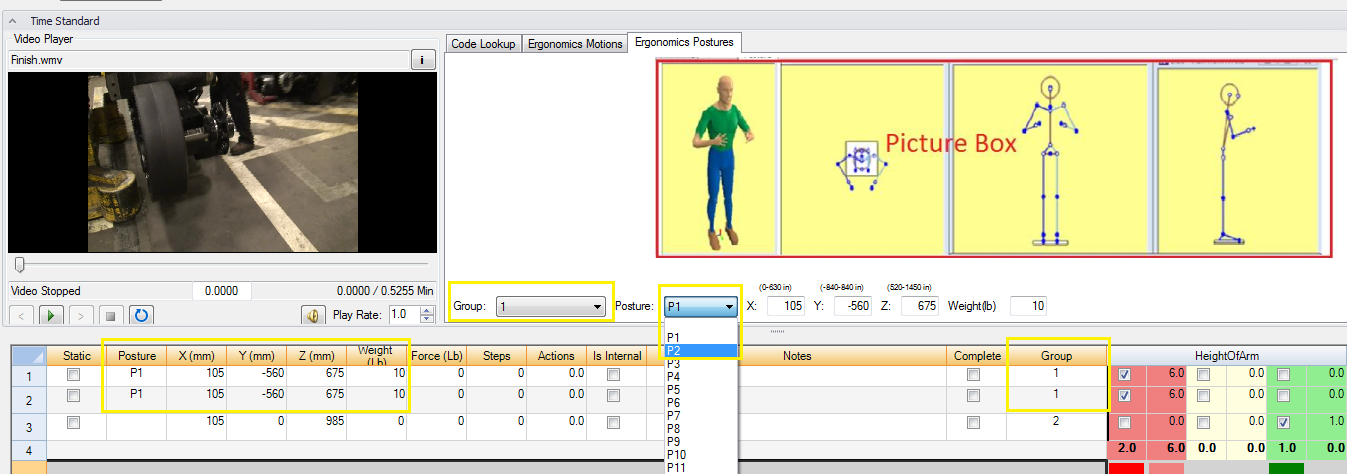
Ergonomic Postures can be assigned either by selecting a task(s) or selecting a group, then selecting a posture from the posture drop down list. Groups can be created in the group column for tasks.
Each Posture has a predetermined X, Y, and Z value, which can also be manually changed for tasks or groups.
This X, Y, Z and weight value is then translated to a set of scores for postural ergonomics categories:
oFlexion angle of the waist
oFlexion angle of the knee
oTrunk axial rotation angle
oRotation Angle of the Waist
oRotation Angle of the Wrist
If manually changing the values for X, Y and Z, the maximum range for postures are showing above the X, Y and Z boxes

Range For Postures is Located Above the X, Y, Z Values
Ergonomics Postures Step by Step Walk-Through
1.Open an activity (see Activity Editor)
2.Select the Time Tab for the activity
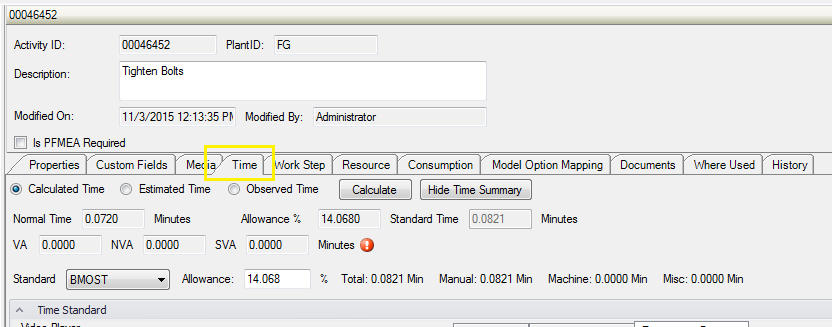
Time Tab
3.Create three tasks in Calculated Time or Observed Time (see Time)
4.Select the Ergonomics Postures Tab in the Time Standard
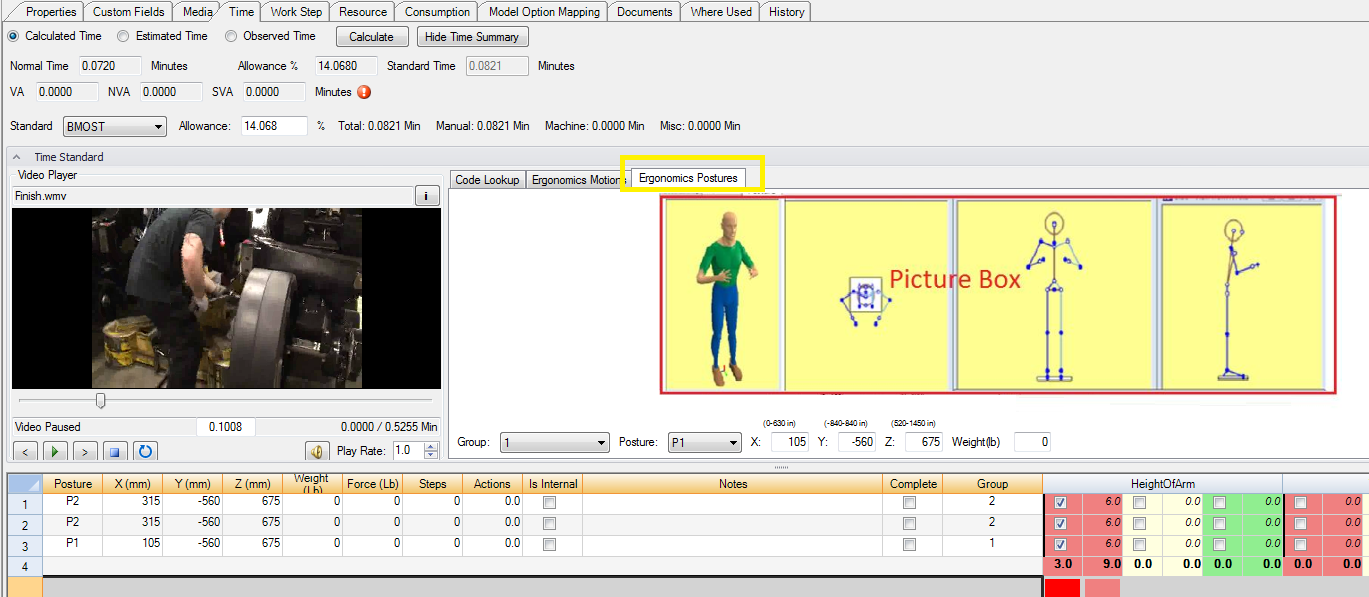
Ergonomics Posture Tab
5.Select the first task and select Posture P1 from the Posture Dropdown Menu. Observe how the X, Y, and Z columns for the first task update to match the X, Y, and Z values for P1. The ergonomics values on the right also update for P1

Change Posure Dropdown to Monitor the X, Y, and Z Values
6.Edit the X, Y, Z, and Weight fields in the postures section and select the save icon ![]() . Observe how the X, Y, Z and Weight columns in the tasks table have updated to match the manually entered values.
. Observe how the X, Y, Z and Weight columns in the tasks table have updated to match the manually entered values.
Edit the X, Y, Z, and Weight Fields Located Below the Picture Box
7.Edit the X, Y, Z, and Weigh fields in the directly in the tasks table. Observe how the X, Y, Z and Weight columns have updated in the postures section to match the manually entered values.

X, Y, Z, and Weight Columns are Highlighted in Blue
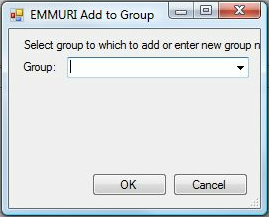
8.Go to the 'Group' Column and create groups for the 3 tasks

Group Column is Located Next to the Complete Column
9.Select a group in the Group Dropdown Menu, then change the Posture to P2 and select the save icon ![]() . Observe how all the tasks in this group have changed to P2
. Observe how all the tasks in this group have changed to P2
Observe Tasks Changed After Changing Posture to P2