Resources (tools) are associated to activities so that they can be displayed in work instructions. Doing a resource import is a much quicker way to build your Resource Library than by adding resources one by one.
1.Before importing a list of resources, the import file must be prepared. The file must contain fields for both the resource ID and a description (resource standard fields) as well as any custom fields that deal with resources. The column name in the external file must match the field name exactly (and for custom fields, the field name may be different than the display name).
2.When the import file is ready, go to Data Management and click on the Import ![]() button.
button.
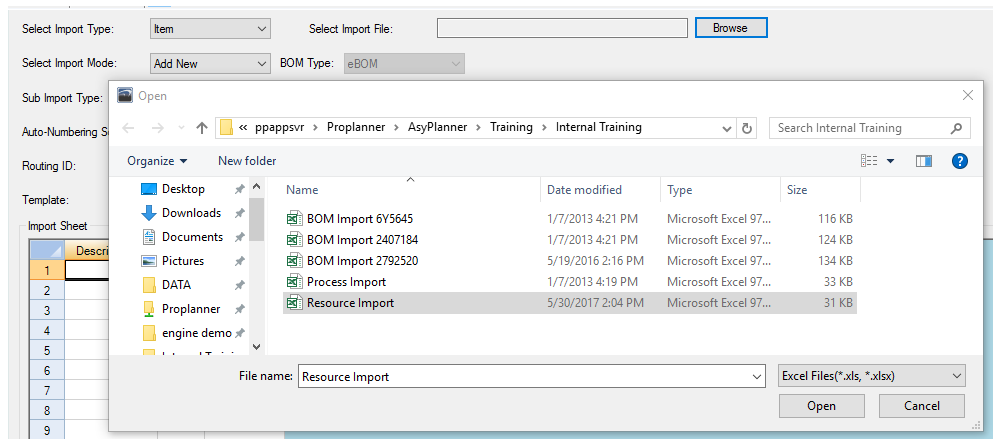
3.Select resource as the import type. Choose the import mode. Add New is for lists of new resources; Merge is the choice if any of the Resource IDs in the import file have already been entered in Assembly Planner.

4.Click Browse to select the import file. When you have selected the correct file, click OK. The data should display in the spreadsheet.

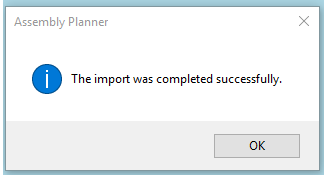
5.The last step is to click the "Import" button at the bottom of the window. This is what actually brings the data into Assembly Planner. When you are finished, you will see this message:
