Custom fields may be created to store or track data that is not otherwise captured by Assembly Planner. You are not required to use custom fields–they are provided entirely for your convenience.
1.To create a custom field, go to Admin Tools and click on the Custom Fields Manager .![]()
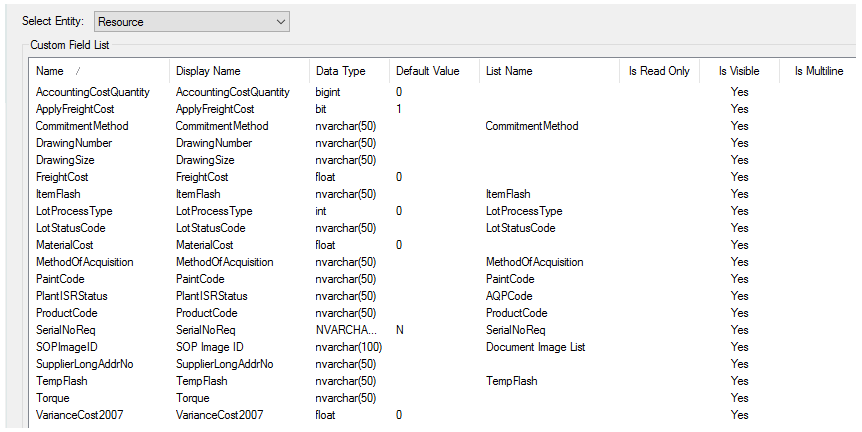
2.Choose the type of custom field you want to create by using the Select Entity drop-down menu. For a review of the entity types, see the Custom Fields Manager in the Admin Tools reference section.

3.After you have selected the appropriate entity type, click the Add button at the bottom of the Custom Fields Manager.
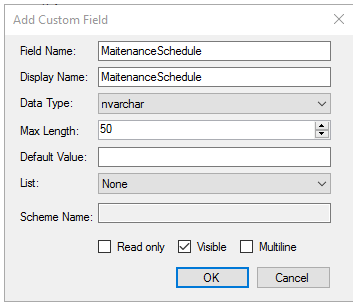
4.Type in the Field Name and Display Name of the new custom field. Choose the correct data type (review the options in the Custom Fields Manager section of Admin Tools). If you are creating a string field (nvarchar) and you want to be able to enter more than 50 characters in the field, make sure to increase the Max Length before you create the field, as this cannot be changed after creation.
You may also choose to associate an existing list with the custom field at this point. However, lists can be associated or disassociated after the field has been created. See Create Lists for Custom Fields for more information.
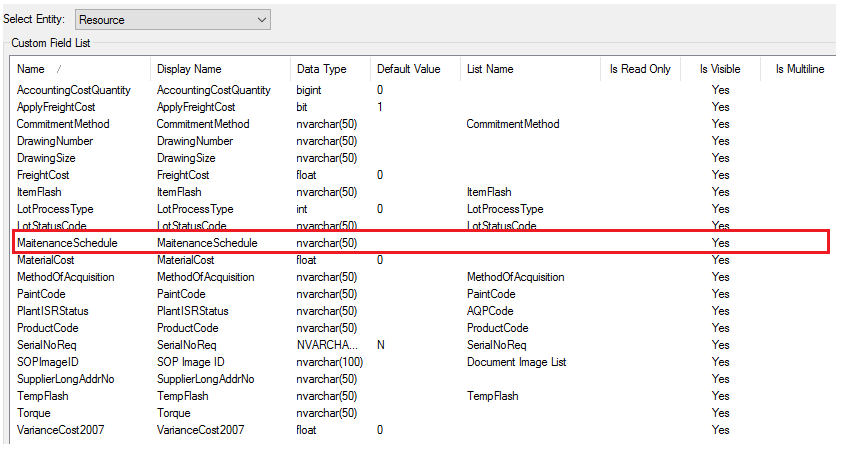
5.The new custom field will appear in the list. It will also appear in the appropriate editors and modules. When you leave the custom fields manager, you will be asked to exit Assembly Planner and restart the application. This saves the new custom field in the database structure.
The next step is to create lists for custom fields.