Before You Balance
To use the line balance module, you should have already entered data in the Library. Particularly, you must have a routing with operations and activities under it. The precedence graph must be set up and the activities all need to have estimated times associated with them.
After you have the precedence graph and the activities have times, you can do a basic line balance. To add more depth to the line balance, you may also want to:
•map models and options to your activities
•set up the resources that activities use
•map the resources to workstations
•set up consumption
The items on the list are not required to create a line balance, but they will certainly make your line balance more accurate.
Creating a Balance Scenario
1.To set up a new line balance scenario, go to Modules and click on Line Balancing ![]() button.
button.
2.Go to File > New Scenario. The Scenario Details screen will appear.
3.Set up the scenario details.
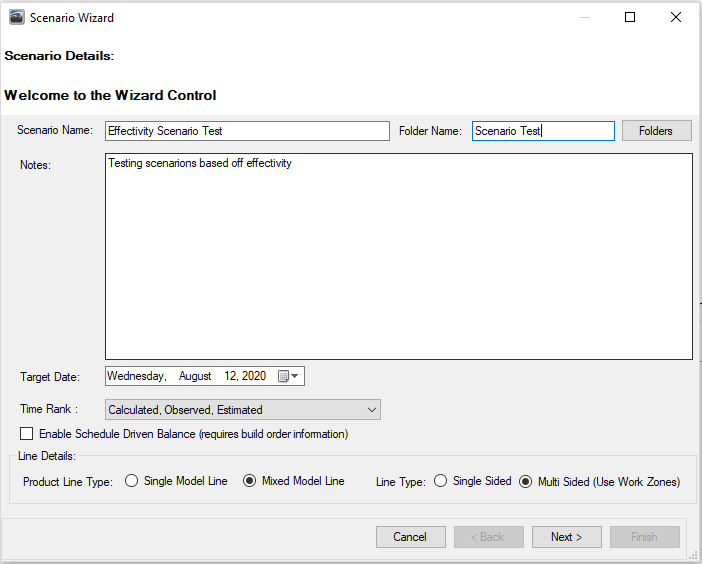
a. Scenario Name and Notes:
b. Time Rank: specifies the order in which the time type will be used for the activity. For example, in the screenshot above, the time rank can be interpreted in the following way: if the activity has an Observed time associated, the program will use that time. If not, the program will check to see if there is an Estimated time associated with the activity. If so, the program will use the Estimated time. However, if neither calculated nor estimated times are associated with the activity, the program will use the Calculated time.
c. Enable Schedule Driven Balance: check if orders will be loaded to auto-calculate model take rates.
d. Product Line Type:
•Single model: if the routing only has 1 model.
•Mixed model: if the routing has multiple models.
e. Line Type:
•Single sided: if the routing has stations where the operator can only work on one side of the product
•Multi sided: if the routing has station with multiple work zones where the operator can work.
f. Click Next.
4. Set up the Order Details (optional)
| a. | Only use for mixed model schedule driven scenario. |
| b. | Load in orders using one of the selected methods. |
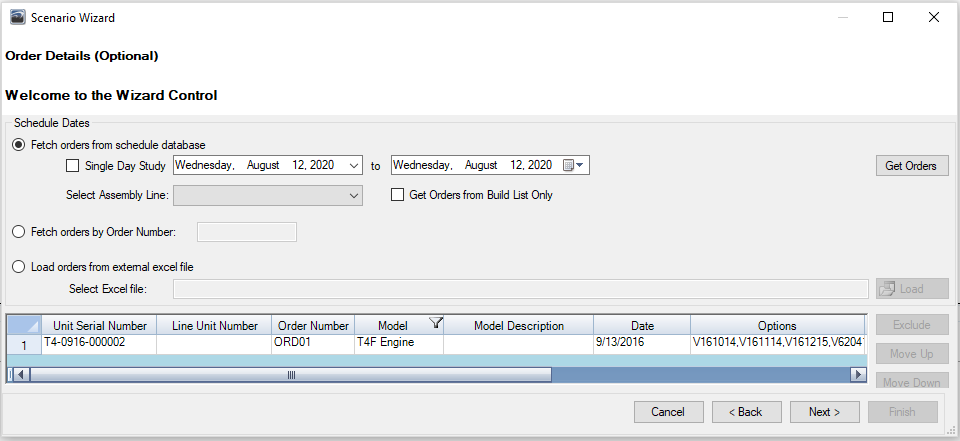
C. Click Next.
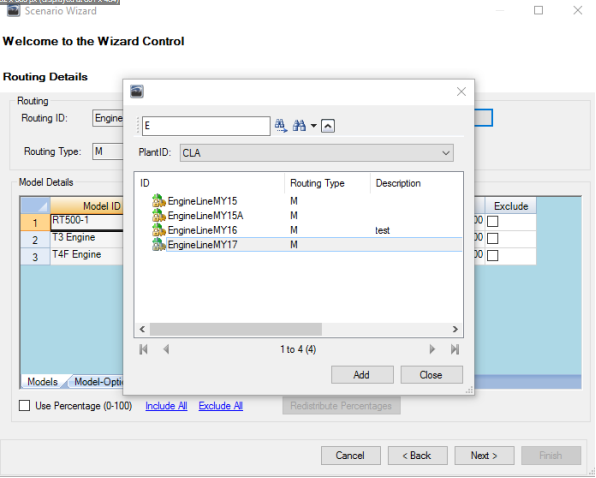
5. Set up the Routing Details.
a. Click Select next to Routing ID and browse to the routing line.
b. In the Model Details section, enter the model take rate in the percentage column (if you want to use a percent instead of decimal check the Use Percentage (0-100) box at the bottom).
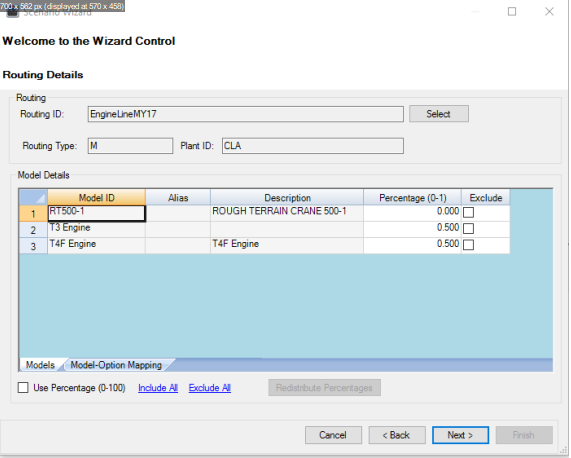
c. If there are Model-Option Mapping take rated, those can be edited in the Model-Option Mapping tab.
d. Click Next.
6. Set up the Work Stations.
a.Review the work stations that will be included in the scenario.
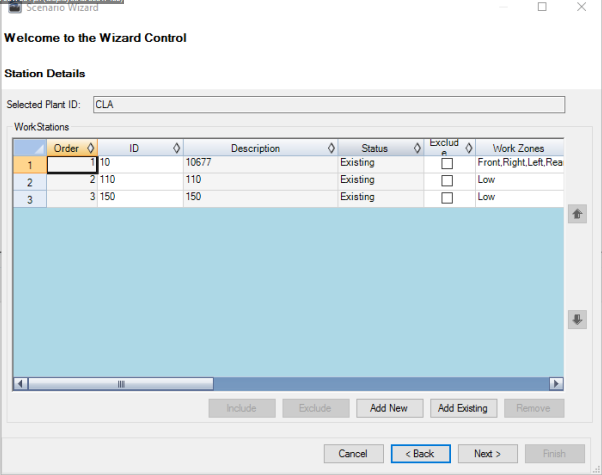
b.Remove or add an existing or new work station using the appropriate buttons at the bottom.
c.Exclude any work station by checking the box in the Exclude column.
d.Click the Finish button when complete.
7. Set up the Task Details.
a. Select a Time Unit from the drop down list.
b. Include or Exclude any activities by clicking on the activity row and using the Include or Exclude buttons.
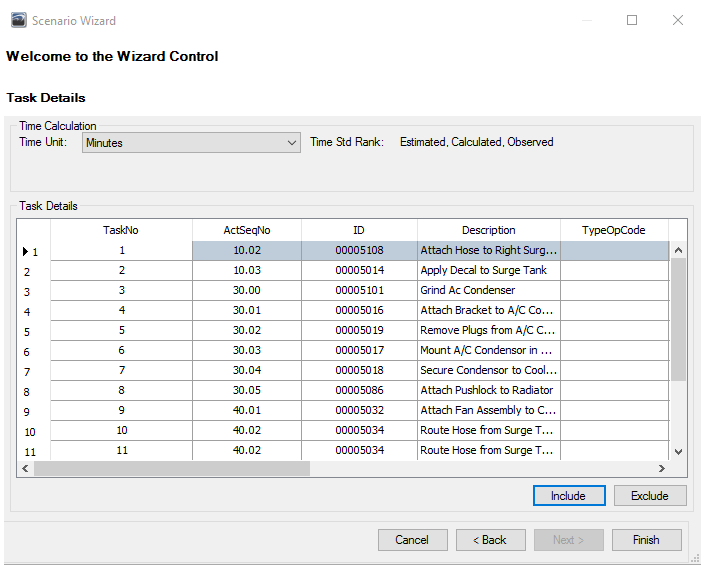
| c. | Click Next. |
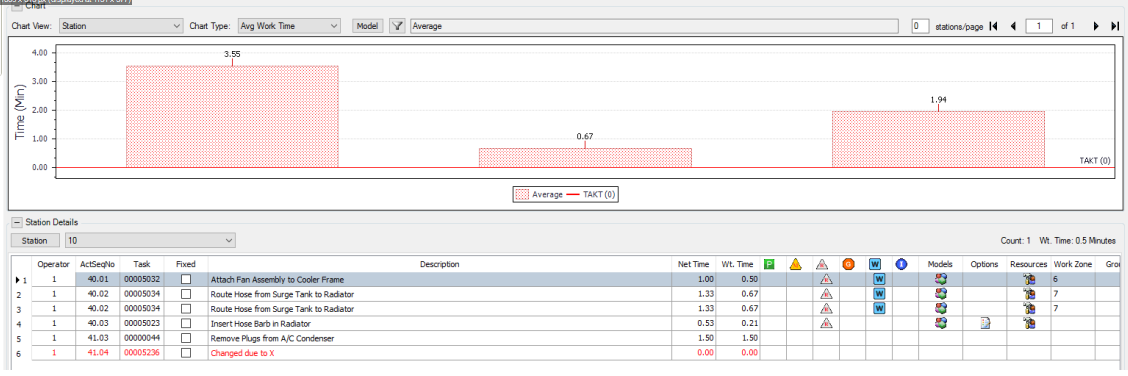
8. When you finish you should have a Line Balance Scenario that looks similar to this:
9. You can set a TAKT time.
a.Go to Edit > TAKT Time
b.Enter in your desired TAKT time
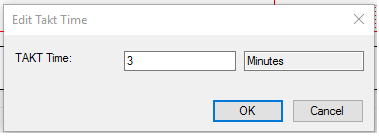
c.Your TAKT line should then move to where it was set.

The next step is to run an automatic line balance for the scenario.