This section focuses on how to add and remove models within Assembly Planner.
Adding Models
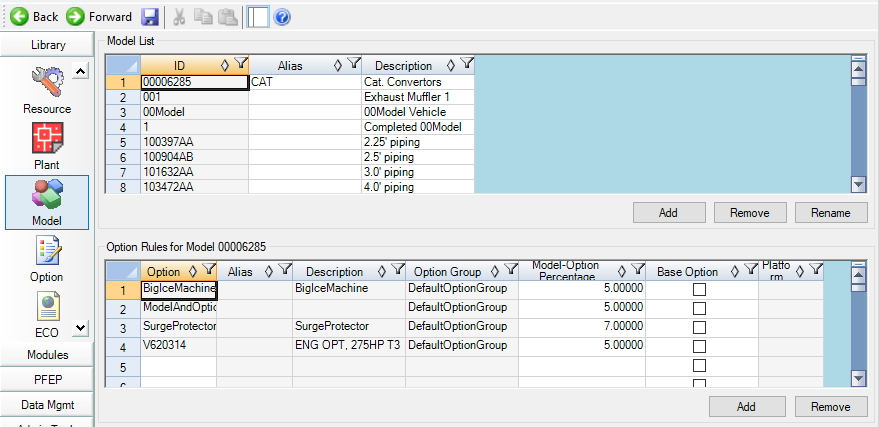
1.Click the Model Editor.
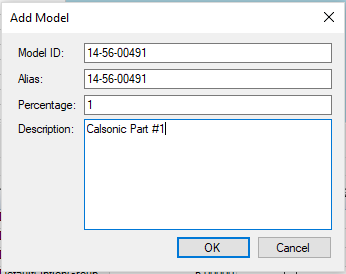
2.In the Model List box, click Add

3.Type in the Model ID.
4.Type in the Description (e.g. Part description).
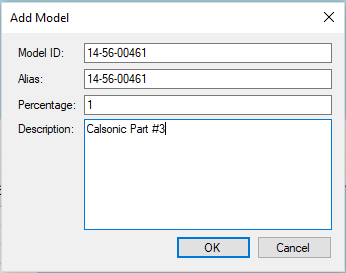
5.Click OK.
6.Click Save.
Renaming Models
1.In the Model List box, click on the Model ID to rename and click Rename.
2.Type in the correct Model ID
3.Type in the correct Description (e.g. Model name and ID).
4.Click OK.
5.Click Save.
Removing Models
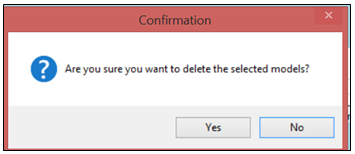
1.In the Model List box, click on the Model ID to remove and click Remove.

2.Click Yes on the confirmation window
3.Click Save.