This section follows on the addition of operations to a routing. Operations are generally tied to a routing and will carry activities within them.
Note: If modifying a route through mass update, or other means, you must specify the routing as a criteria.
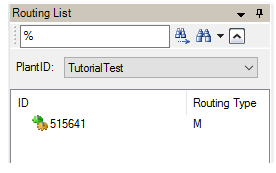
1.To add operations to a routing, go to the Library and click on the Routing Editor ![]() button.
button.
2.Find the appropriate routing with the search feature, making sure you are in the correct plant. Select the routing.

3.Go to the Operation List tab to the right. When a new routing has been added, this will be a blank spreadsheet.
![]()
4.You can modify the set-up of the columns in the Operation List by right-clicking and selecting Customize View. You may choose which fields are displayed or hidden, as well as rearrange the order of the fields. Click on the column name to select it, and then hide, show, or move it.
5.When the worksheet is set up to your satisfaction, you can enter data by manually typing it in or by copying and pasting from an external source (i.e, Microsoft Excel). Fields that are slightly shaded like Status, ID and Type are not user-editable. When you Save, these fields, and a few others, will be automatically populated if needed (ID is always needed).

6.When your operations have been created, you will be able to search for them in the Operation Editor and add activities underneath them.