This section focuses on how to import the Bill of Materials, referred to as BOM within Assembly Planner.
1.Before you can import a bill of materials, the file from which it will be imported must be prepared. The file must contain fields (columns) for all of the mandatory BOM standard fields, as well as any user-created BOM custom fields. The column name in the external file must match the field name exactly (and for custom fields, the field name may be different than the display name). For example, the field containing a description of the part should be titled Description, not Part Description.

2.When the import file is ready, go to Data Management and click on the Import ![]() button.
button.
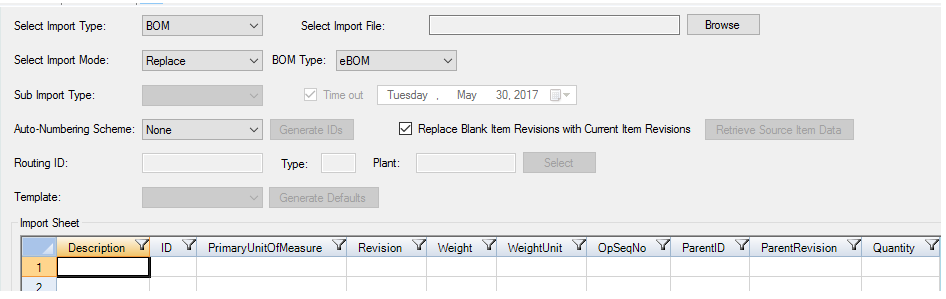
3.Select BOM as the import type. Choose whether the BOM will be imported as an eBOM or an mBOM.
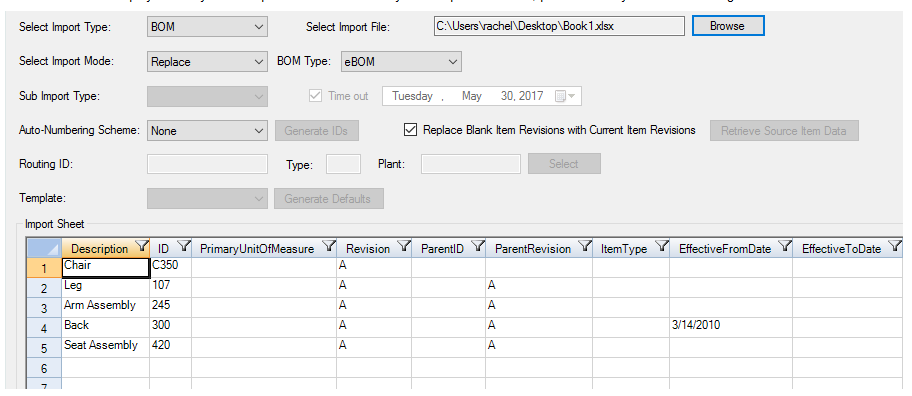
4.Then click Browse to select the import file.
5.When you have selected the file, click Open. Your BOM should display correctly in the Import Data worksheet. If you have problems here, check your external file again.
6.The last step is to click the Import button at the bottom of the window. This is what actually brings the data into Assembly Planner. When you are finished, you will see this message:

If the components that were imported were new to the system, they are now searchable in the Component Editor's component list. If the components previously existed in the system (ie, the ID already appeared in the database), the information will be updated.