Why there is Check In / Check Out:
Assembly Planner’s database stores the ‘master copy’ of process, part and resource information. When a user edits something, they are working on a ‘local copy’ that has been checked out to them. Only one ‘local copy’ is allowed at a time - a user cannot edit something another user has checked out. Changes are not created in the database until the local copy is checked in again.
What the symbols mean:
Lock symbol: Entity is checked in to the database ![]()
Blank: You have the entity checked out
Red Circle: Entity is checked out to another user ![]()
(Place cursor over the red circle or in the red box in the corner of the cell)

Check In/Check Out Status'
How The Check In / Check Out Functions Work
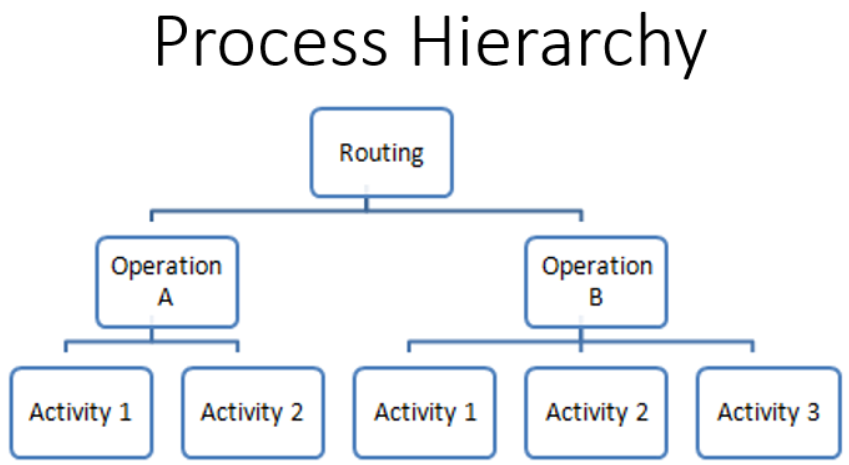
Right click on the icon of the routing/operation/activity:
Check In: Checks in the function you right clicked on and saves all the changes your have made.
Check In All: Checks in the function you right clicked on and everything below it while saving all the changes.
Undo Check Out: Erases all the changes that were made on the function that you rick clicked on.
Undo Check Out All: Erases all the changes that were made on the function that you right clicked on all the functions below it.
Checked Out Entities Pop Up Screen:
When you close out of Assembly Planner there will be a pop up that enables you to check in any checked out items. There will be one tab that allows you to check in any Processes/Items/Resources and one for PFEP Part Plans.

Check In Screen For Any Processes/Items/Resources

Check In Screen For PFEP Part Plans