You will need to begin by adding a plant, this is due to all processes being tied to a specific plant; a plant may have already been created, upon system implementation. Additionally, workstations can be created within a plant.
Note: Only a Proplanner Representative can Add Plants upon request, but other users in the application can edit Plant Specific properties as Description, Plant Code, etc. for existing plants in this editor.
1.In the Library module, click the Plant ![]() icon. This will bring up the Plant Editor.
icon. This will bring up the Plant Editor.
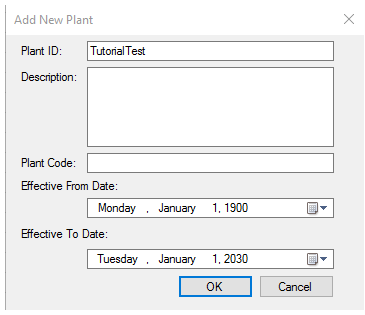
2.Next, click the Add button. Fill in plant details in the Add New Plant window that pops up. Create a new plant named TutorialTest. You can add a description if you'd like. The default end effectivity date is set as 1/1/2030.

Add New Plant Details
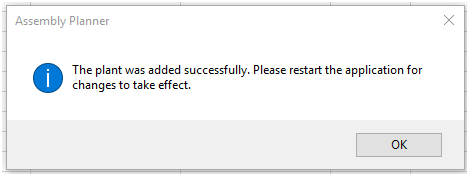
3.Once the plant, or plants, have been added, you will be asked to restart the application. It is necessary to close and restart the program so the new information is added to the database.

Successfully Added Message
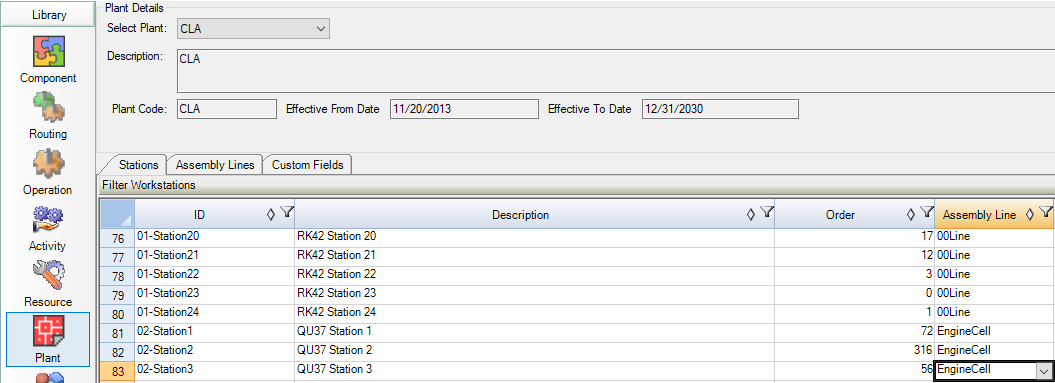
4.After the plant is added and the application has been restarted, it is time to enter work centers by adding station data for the plant. This can be done by manually typing information into the spreadsheet in Assembly Planner or by copying and pasting from a different spreadsheet.
a. In the Station List spreadsheet, find the first empty row and type in the ID and Description.
b. Set the Order Value, which sets the order the stations appear in the list.
c. Click Save.

Adding Station Data
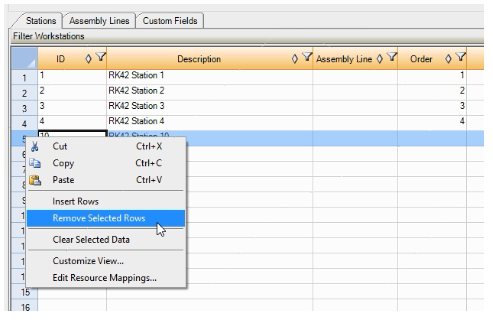
d.To remove a station, right click and select Remove Selected rows.
e.Click Save.

Remove Station
The next step is create a user for specialized access and properties.